I am going to show the steps in making this bow for my son. I am not an expert by any stretch. This will be a build along sort of thread but I must warn you that this will be slow going. I have many projects in the works with much stricter time lines than finishing this bow for my son so there will be periods of inactivity. Thats just real life.
This bow will be a reflex/deflex Long bow. It is a hybrid combination of a longbow and a recurve. Longbows are typically straight when unstrung and recurves are still curved even when unstrung. This bow will look sort of like a recurve while unstrung and like a longbows when strung.
Here is a pic I stole off the web to give you an idea of what I am going for.

The woods I am using for Josh's bow are the same ones I use to make knife handles. For the most part, they are South American hardwoods. The riser will be made from Bubinga, Bloodwood and good old American hard rock maple from a tree my Dad cut many years ago. Sort of a legacy piece of wood, cut by my Dad, Made into a bow by me and finally used by my son. I will also use some of the Maple in the limbs.
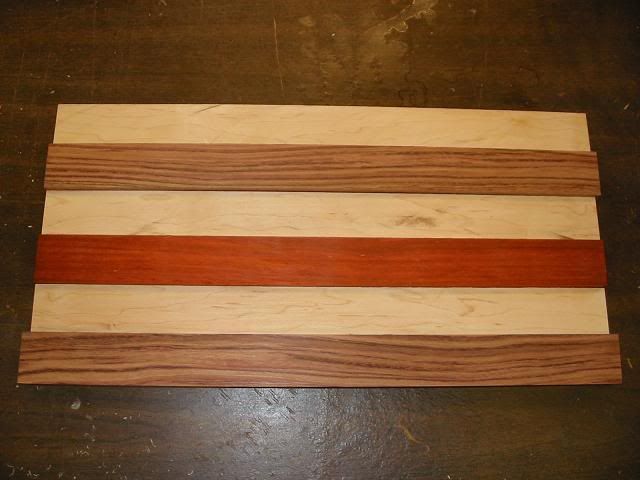
this is the order in which I will stack the layers.
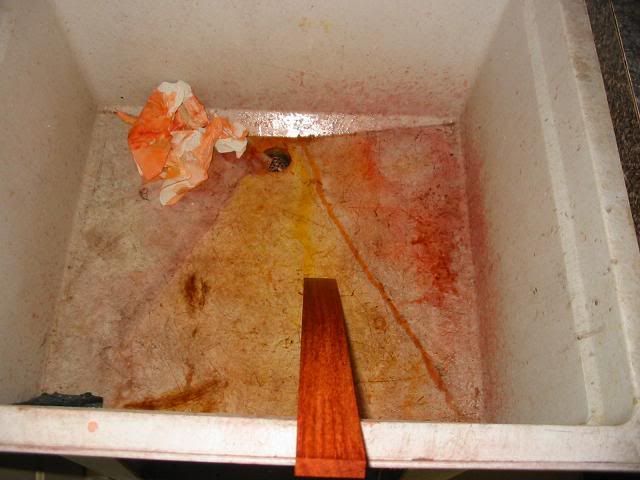
Most S.A. hardwoods have oils in them that make gluing difficult, so I use acetone to clean and degrease. Blood wood and purple hear are some of the oiliest. You can see the orange oil in the basin of the sink. It took a long time to clean that sink. I should have sprayed it with pam first. :oops:
Once cleaned, I used a hacksaw blade as a scrapper to rough up all the gluing surfaces. Epoxy does not like smooth surfaces.
The glue I am using can be purchased at a number of bow building web sites. This is a two part epoxy that gets stronger if cured under a heated condition. This is important because if you leave the bow in a hot car on a sunny day, The glue had better have been cured at a high temp to keep the bow from de-laminating.
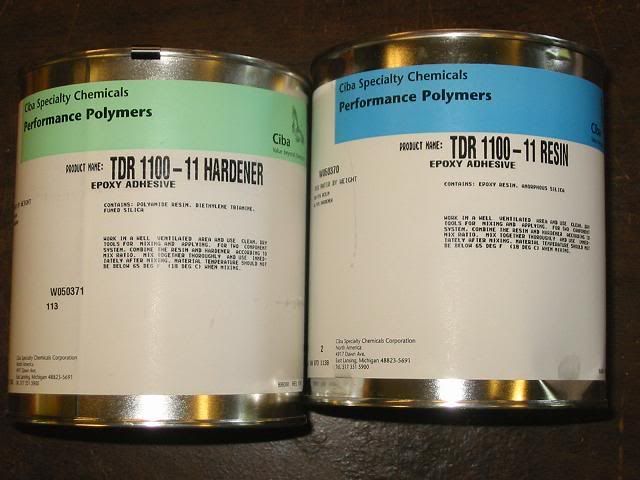
It mixes like any other epoxy.
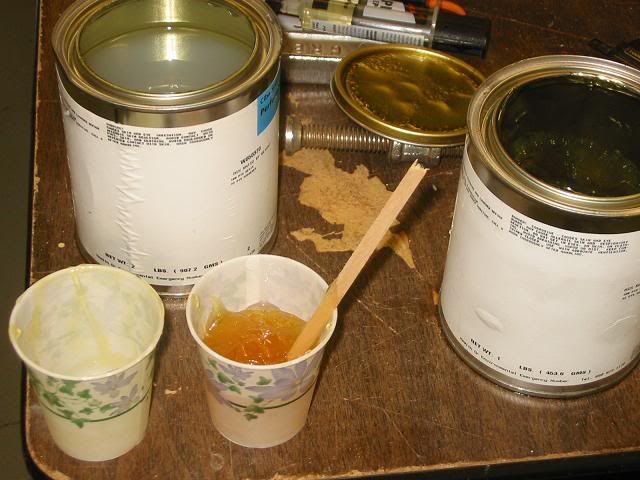
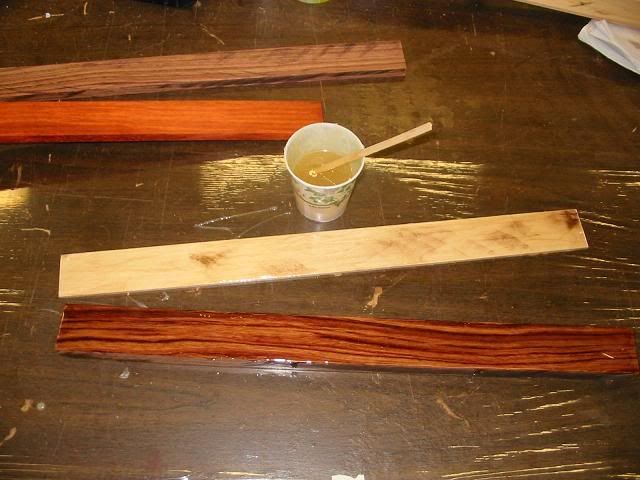
Make sure to cover your work surfaces with wax paper or plastic wrap. It is hard to clean up any spills. Then simply butter both sides of the surfaces to make sure you have no dry spots that will later separate.
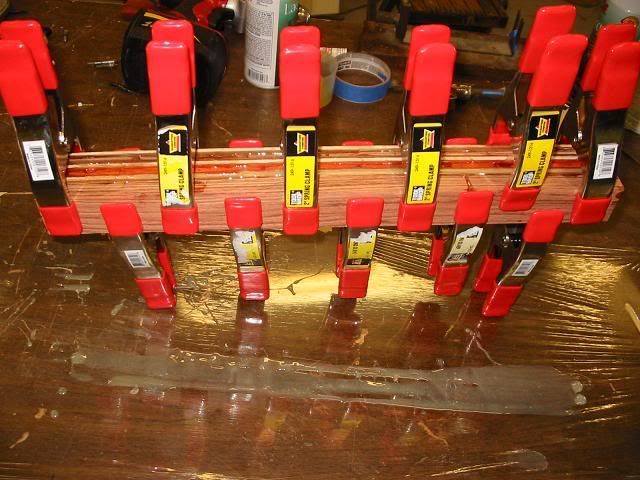
I use spring clamps because C-clams will get loose during the heating process when the glue oozes out. (trust me, there is a lot of oozing)

Spring clamps keep a constant pressure at all times.
I then take the riser and put it in a preheated oven. Bake for 8 hours at 180F until a nice golden brown and serve with a scoop of vanilla ice cream .

When it comes time to glue up the bow itself, I will build an oven box that is 6 feet long as the bow will not fit in the oven. I will heat this box with 100 watt light bulbs.
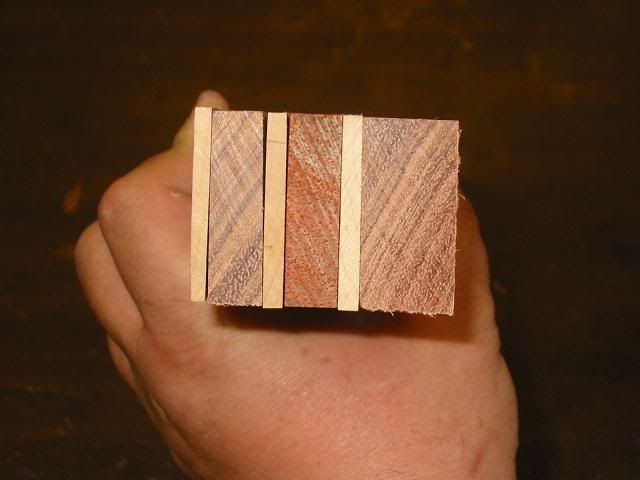
Fast forward 8 hours and a few more hours for a slow cool down period and the riser is all glued up. The rubber tips of the clamps need to be pried from the glue.
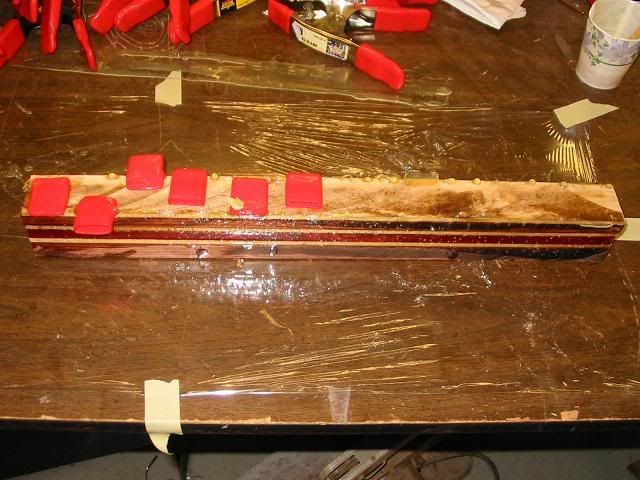
Next, I ran the block through my table saw to square it up and remove the excess glue.
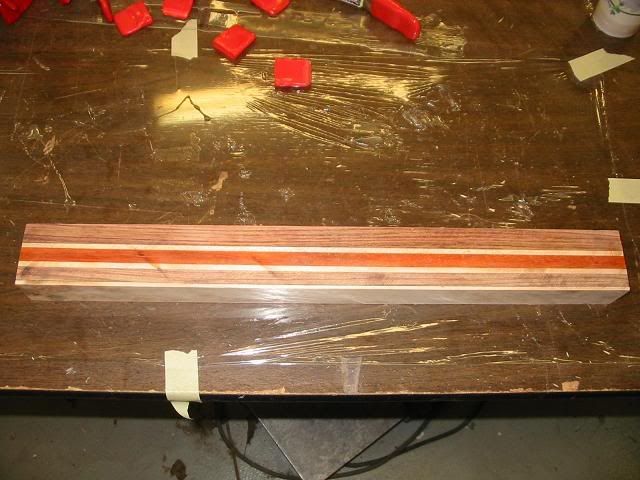
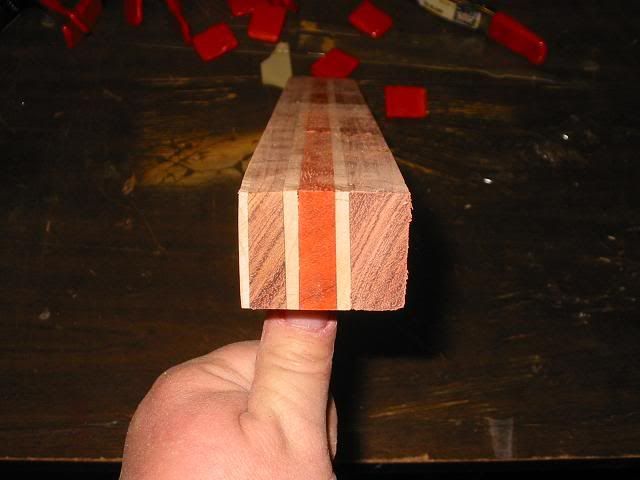
Then I drew the riser pattern on the wood and cut it out with a band saw and sanded the fade outs on a drum sander.
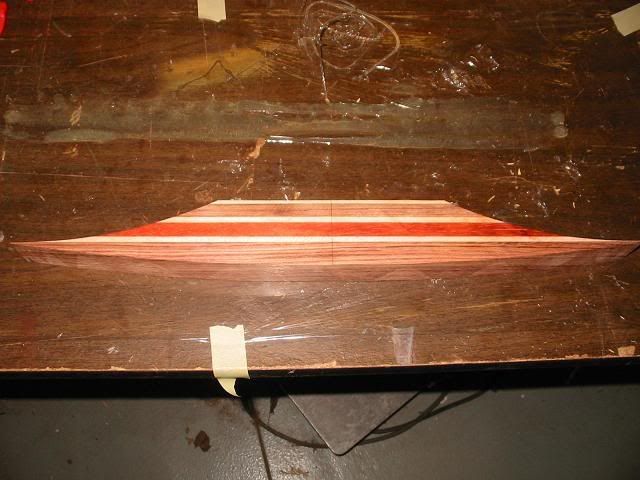
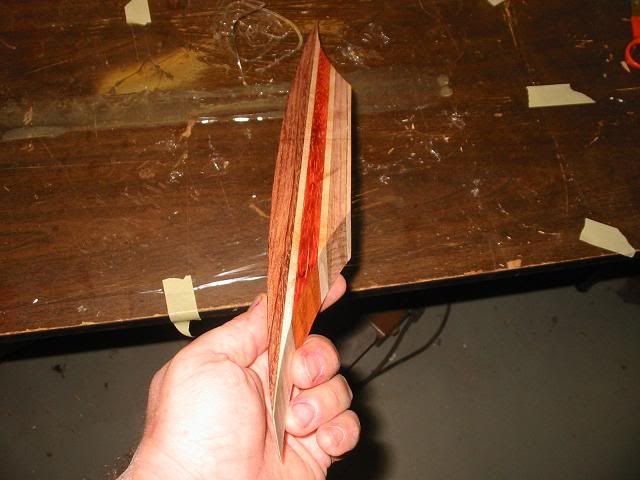
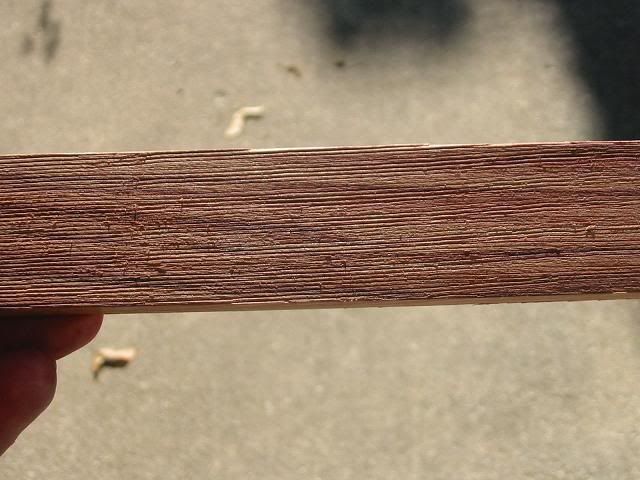
This glue is a flexible epoxy. Normal hardware store epoxy would crack and break if bent like this.
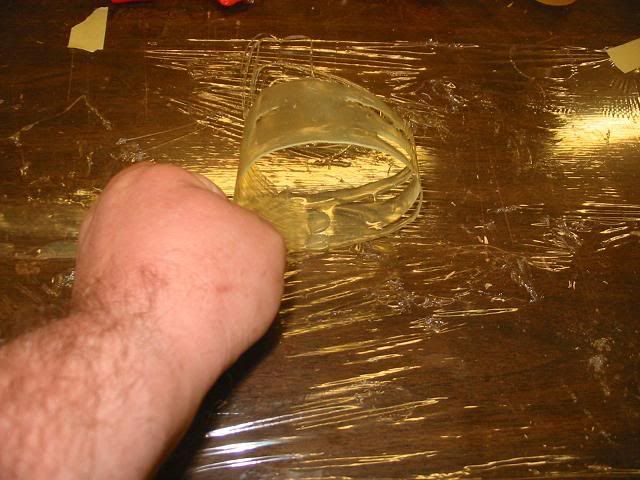
Make sure to use only enough glue for the job at hand. A little goes a long way.
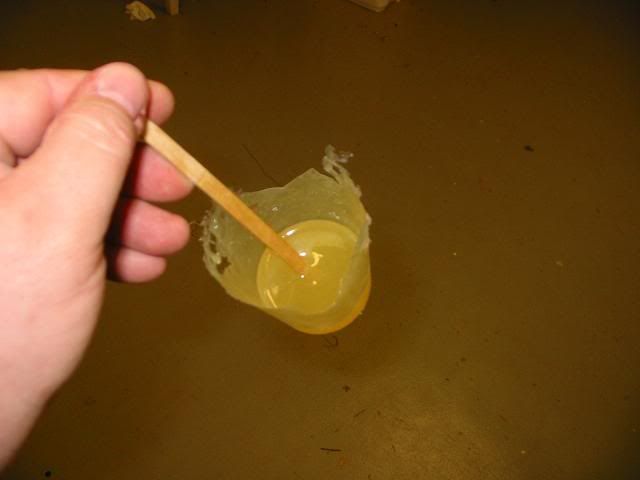
I now need to make the form that I will use to glue the bow on and I need to make the heat box. Like I said, this is going to be a slow moving project. I will post more progress as I get a chance to work on it.