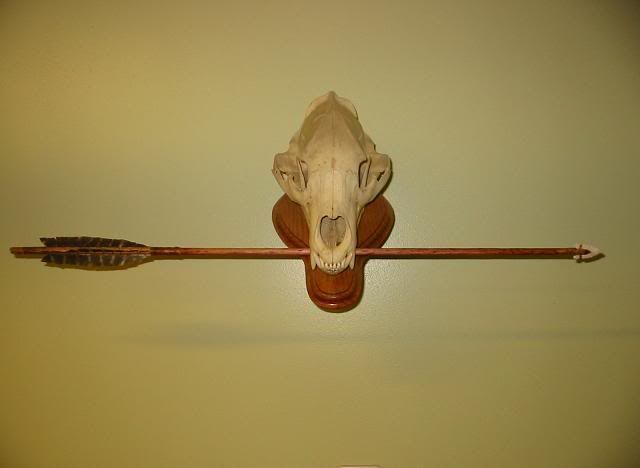
I was asked by a friend to make a replica arrow for is den. I was at the WI deer and turkey expo last weekend and picked up some chert stone flakes that will work great for this project.
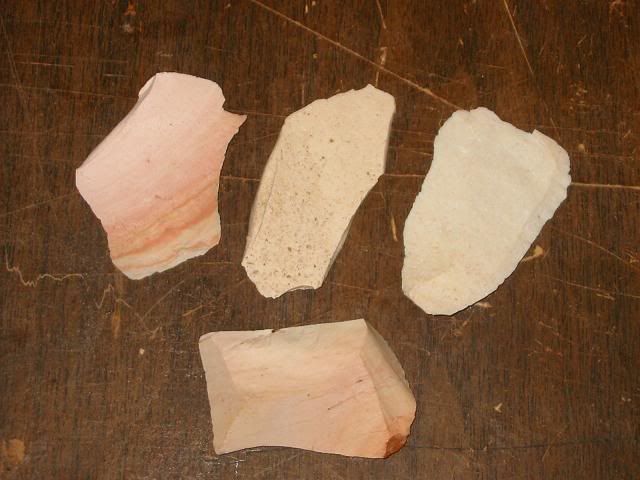
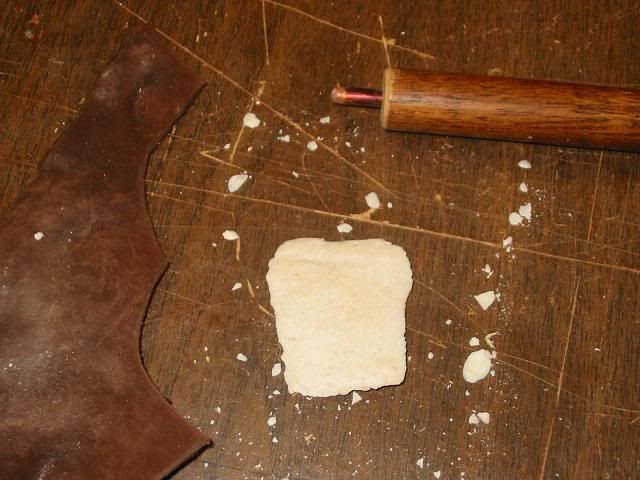
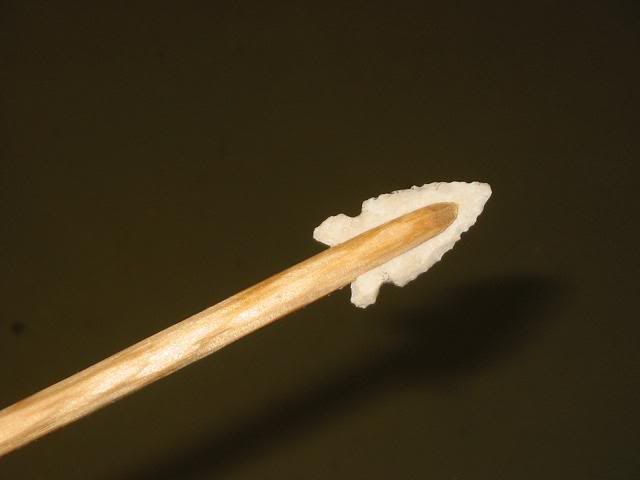
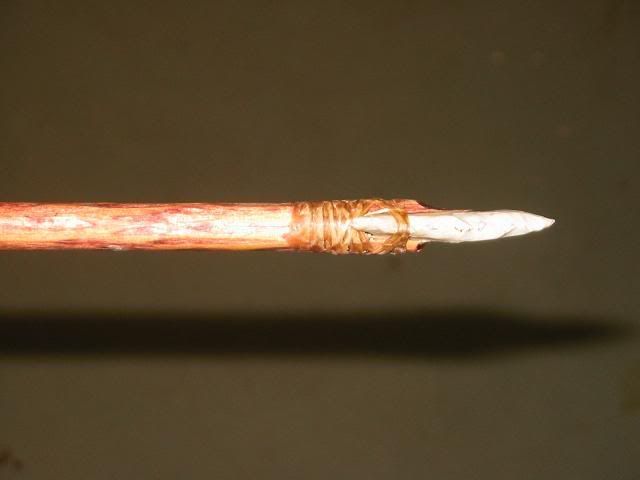
I used a nice, thin, white piece for the arrowhead.
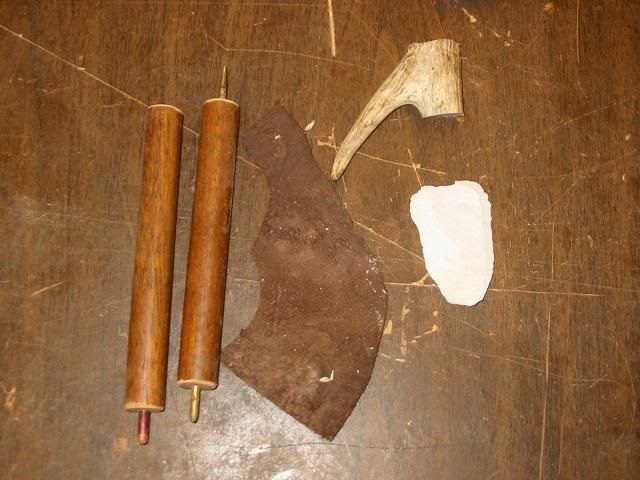
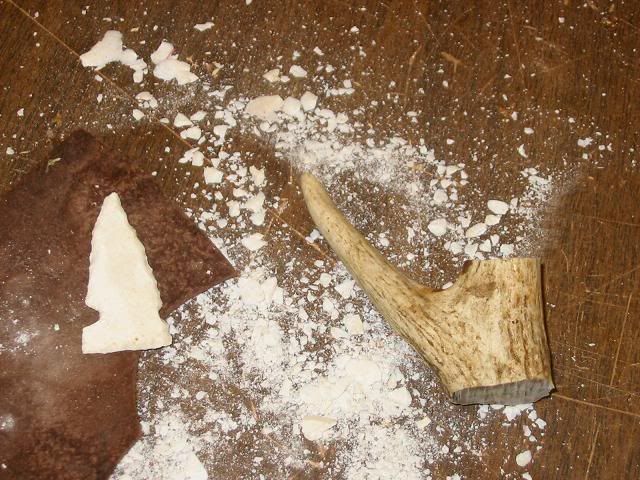
I made some wood and cooper tools and an antler brow tine to flake away the stone. The leather is to protect my hand as I press the coper tool against the chert. The flakes are sharp.
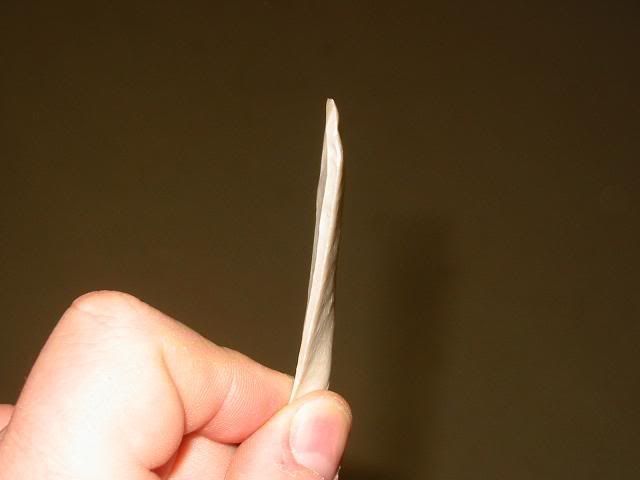
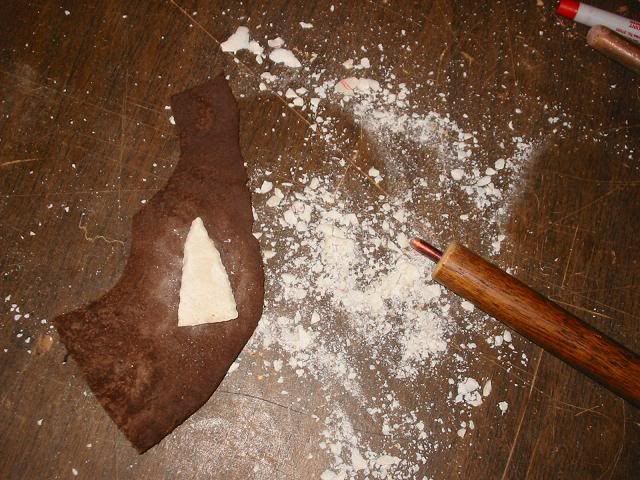
I started by squaring off the bottom of the flake and then chipped the head to shape.
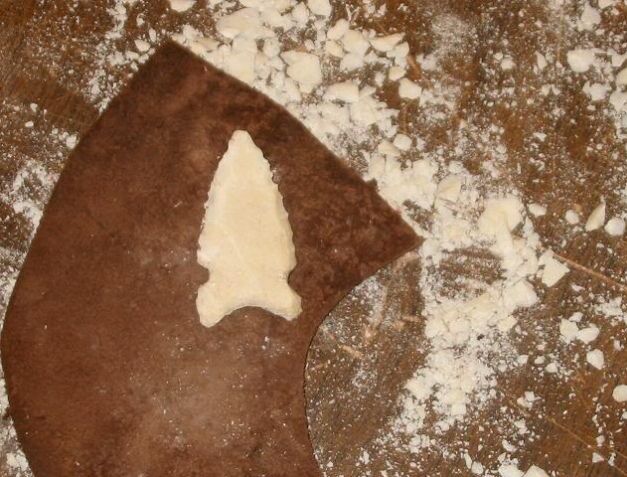
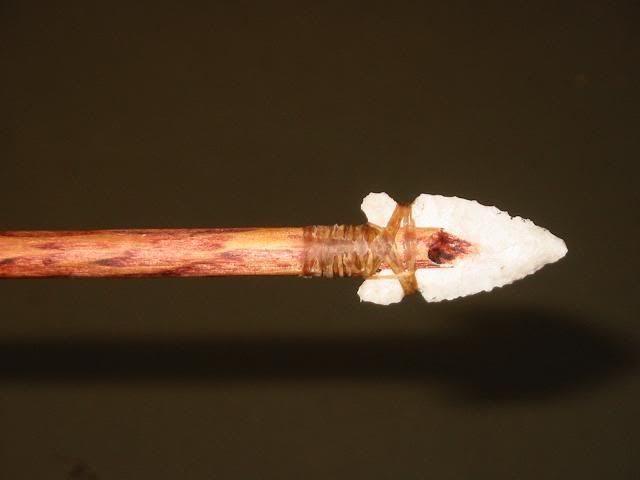
Lastly I added the grooves to each side that will be used to tie the head to the shaft. This is where I make the most mistakes and break the head.
Next, I used a knife to cut a groove in the end of a wood shaft to accept the stone head.
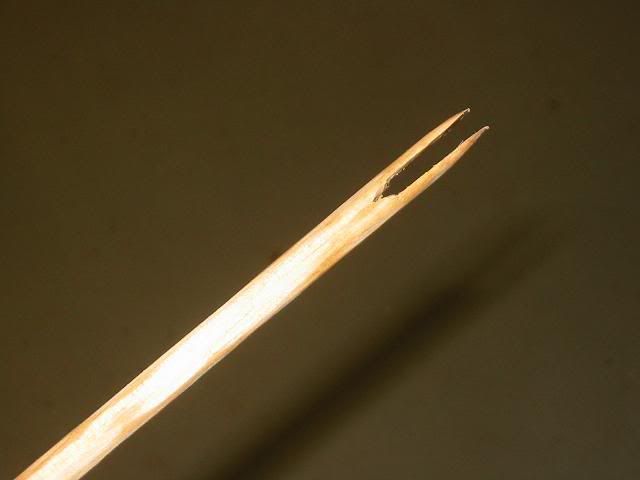
I will trim away the extra wood after I tie the head on.
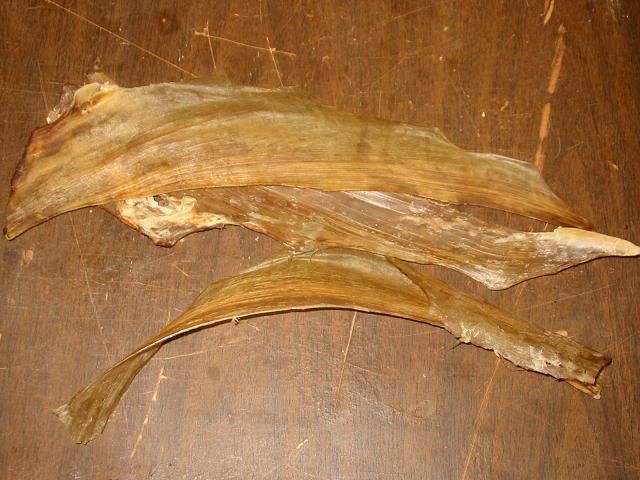
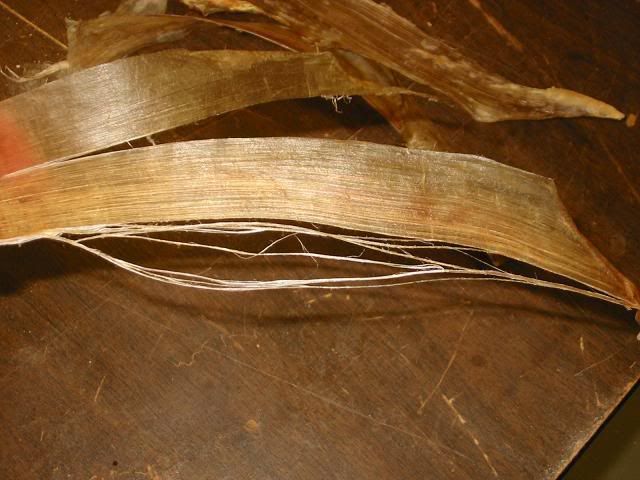
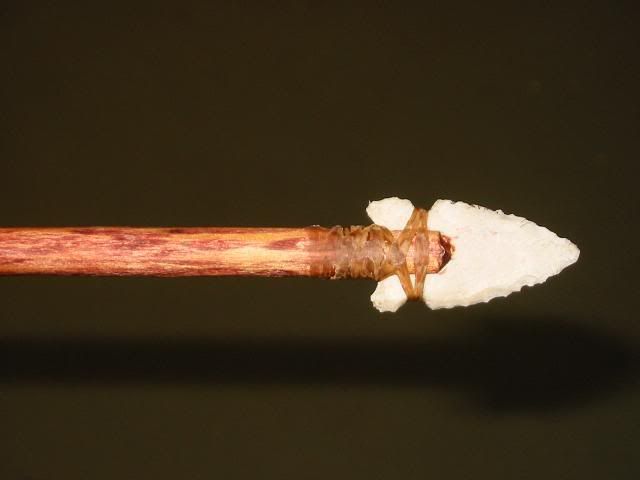
To tie the head to the shaft, I use the sinew I save from the loins/backstraps from my deer.
It separates into nice thin threads.
I soaked the sinew threads in cold water to soften and stretch them. While waiting, I stained the wood shaft. The sinew does not really get tied onto the shaft. It is more like wrapping a wet noodle around the shaft. After I put on a few layers, I dried it with a blow dryer (just like I'm sure the early people did). This makes it shrink tight. I then rub the sinew with a block of bees wax to waterproof it so it won't get wet and loosen up.
For the fletching, I went back to the turkey feathers and tied them on.