I made this kit a few years back. I teach wilderness survival to the Boys and Girls Scouts. I will have Wilderness survival merit badge weekends where I have the kids make a kit based on what they think they will need to survive 3 days in the wild. (You would be surprised to see what some kids think they need to survive) I stress that they need to make a kit that covers the basics like shelter, water procurement and purification, Signaling, fire starting, first aid and food.The second day they have to make an impromptu shelter and spend a night in it. Spending a night alone in the woods in a shelter that you made, helps remove the biggest fear that people have about getting lost. Here is the kit I made. It weighs six pounds and has 101 items/uses (some items have multiple uses) It even includes a tent that is 4 feet wide by 3 feet tall by 8 feet long.
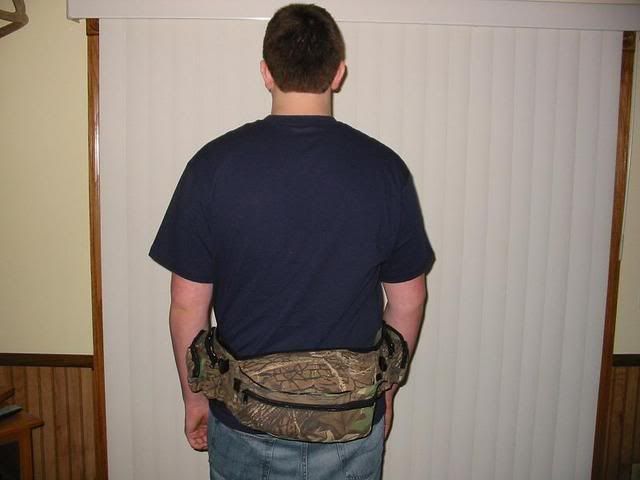
The entire kit kits into a fanny pack with multiple pockets. If it is not comfortable and easy to take along, you will end up leaving it at home, or in the truck.

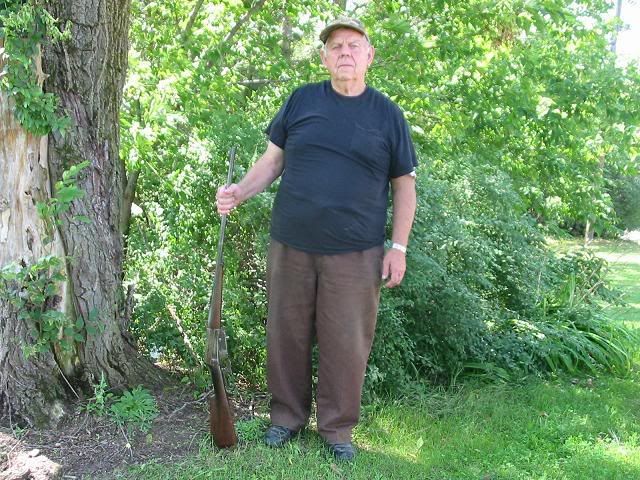
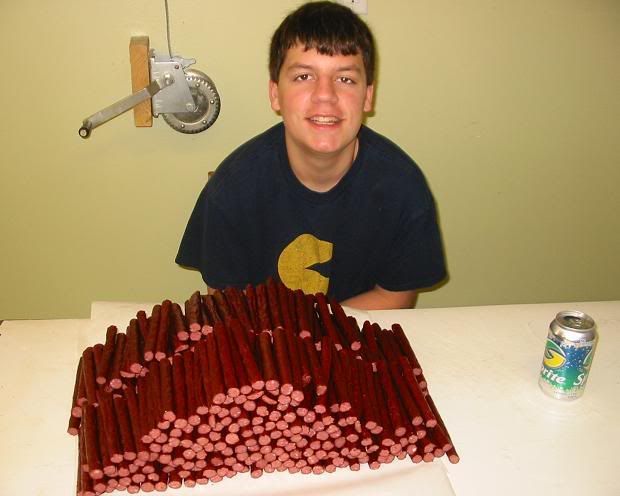
This is my son Jake modeling the pack
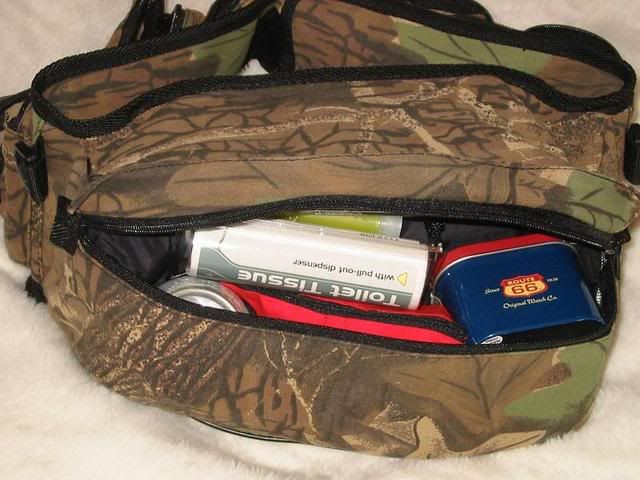
Here is the left side pockets as packed
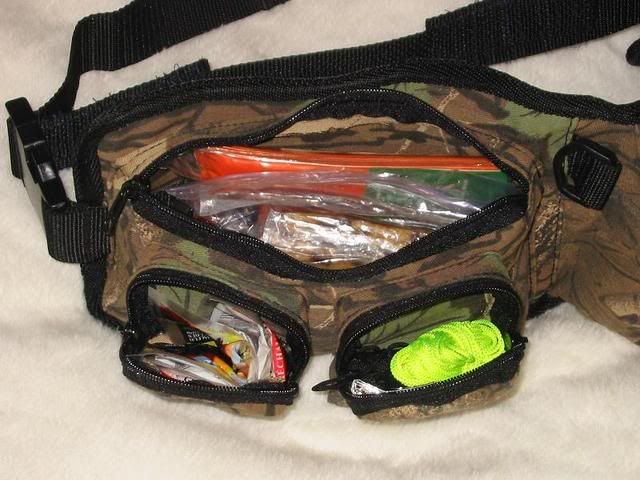
Here is what is in the pockets
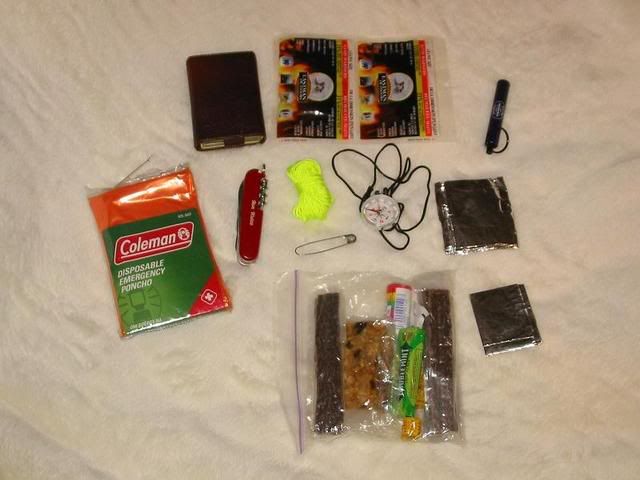
A rain poncho which can also be a shelter and a water gathering device and it's bright orange so it can be a signaling device.
A Swiss Army multi function knife. (need I say more)
50 feet of mason twine which is by far the strongest and lightest stuff around (use your imagination for it's uses)
Safety pin
Compass
Hand warmers (because I live in the North)
A small flashlight
a few large pieces of aluminum foil folded into small squares which can be used as drinking and cooking utensils
A deck of cards because boredom will kill you and it stresses the fact that you need to stay still (don't get more lost) You can use them for starting fires too
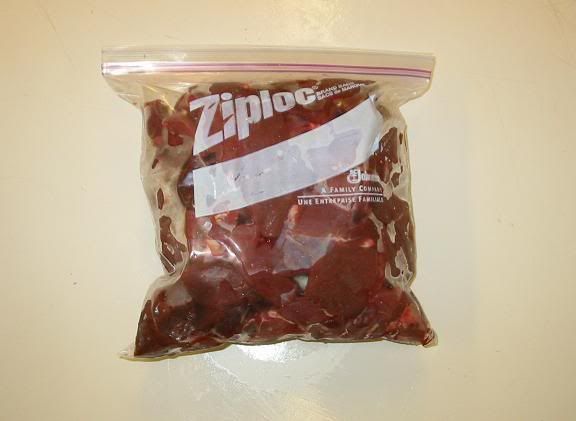
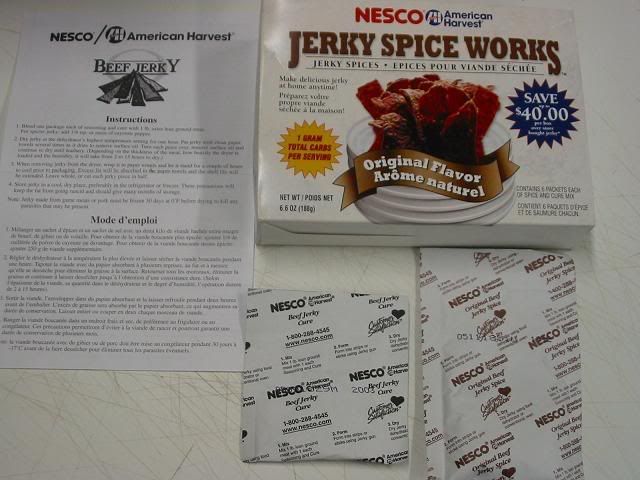
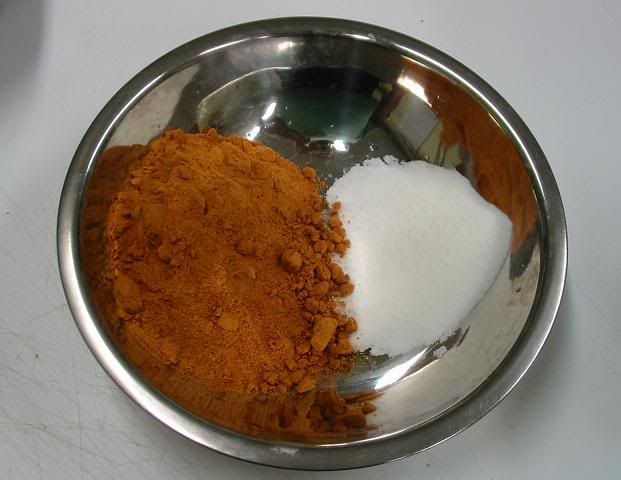
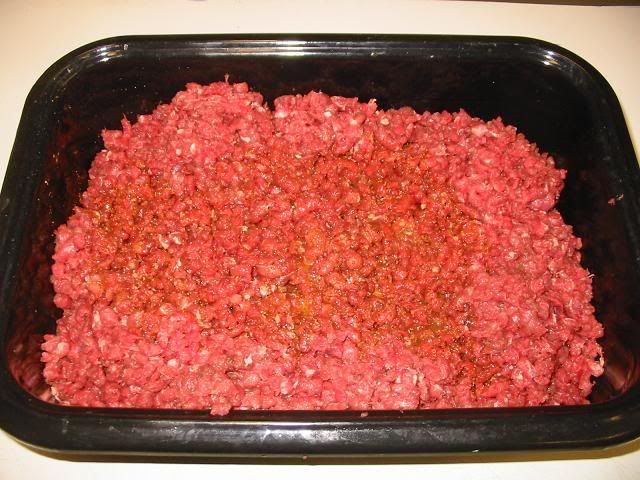
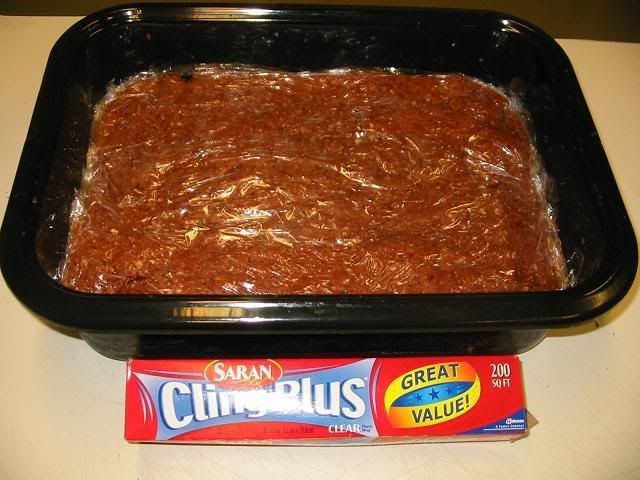
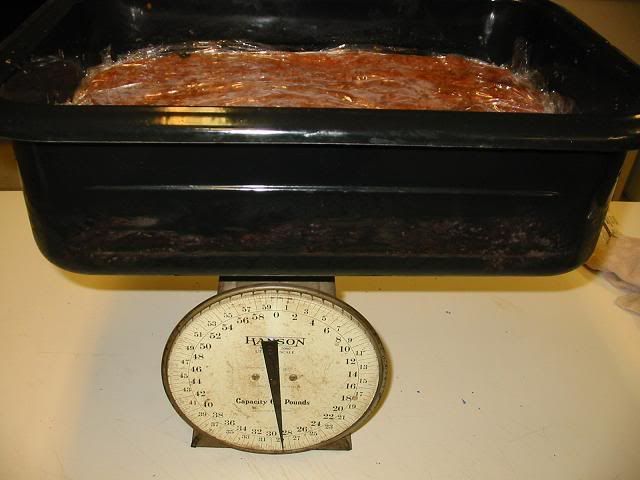
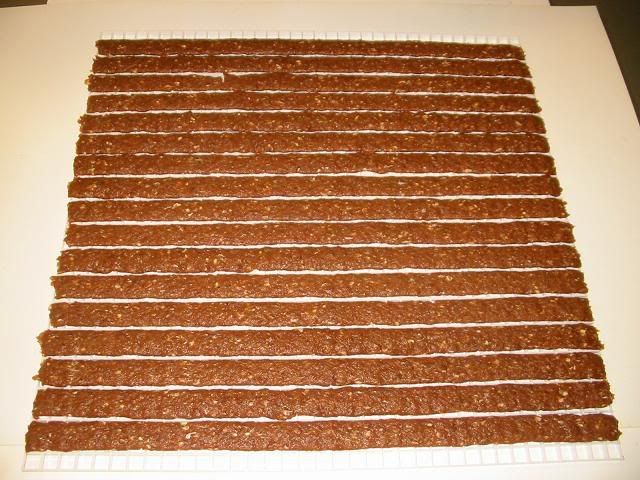
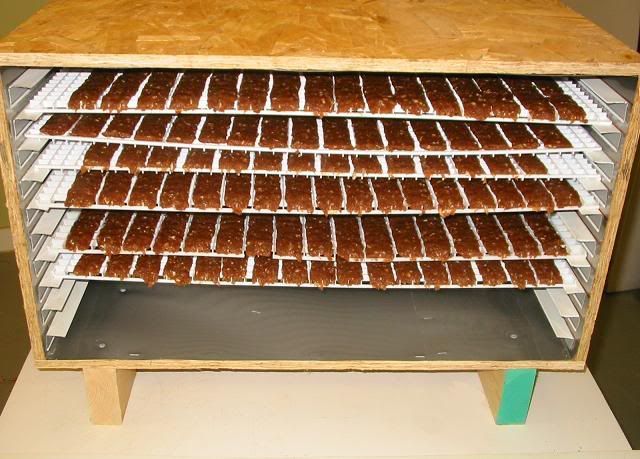
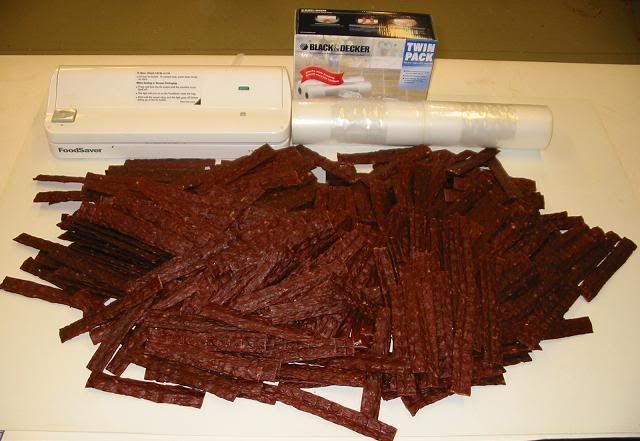
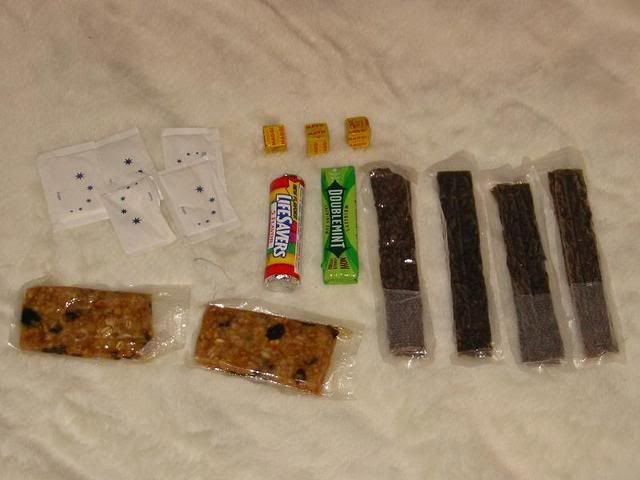
food including homemade granola bars and jerky, beef bullion cubes, sugar packets, gum and hard candy
The right side pockets as packed

Here is what is in the pockets.
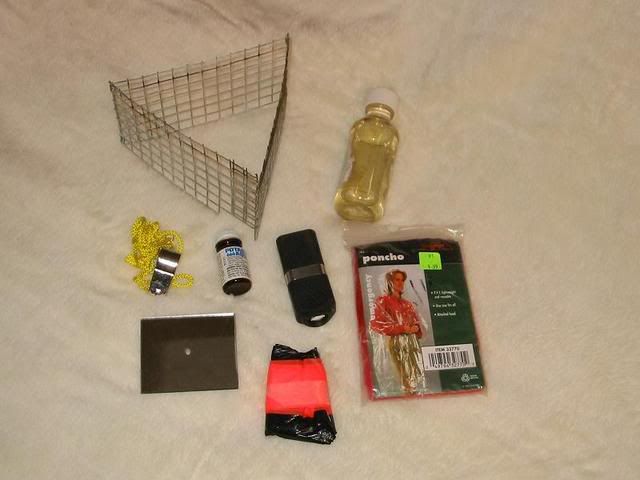
Another rain poncho
A large black plastic garbage bag for shelter and water gathering
it is wrapped with bright orange signal tape
A signal mirror (plastic, not glass)
A whistle
A PAL survival flashlight which I also use for fire starting
Water purification tablets
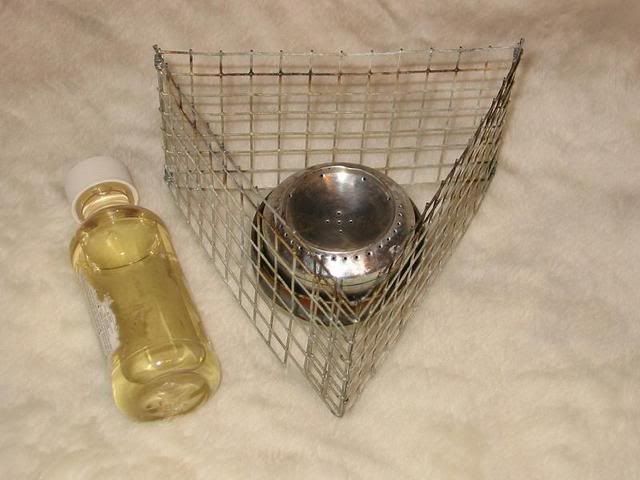
A bottle of denatured alcohol for fuel for my stove
a mesh stand for my stove
The center or main pocket as packed
Here is what is in the pocket

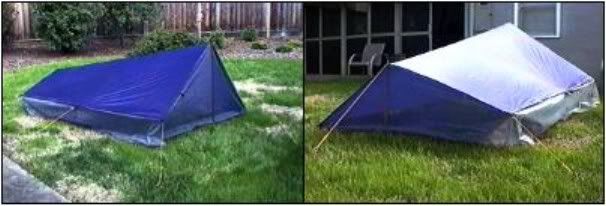
The tent which I made from rip stop nylon and waterproofed ( will explain more later )
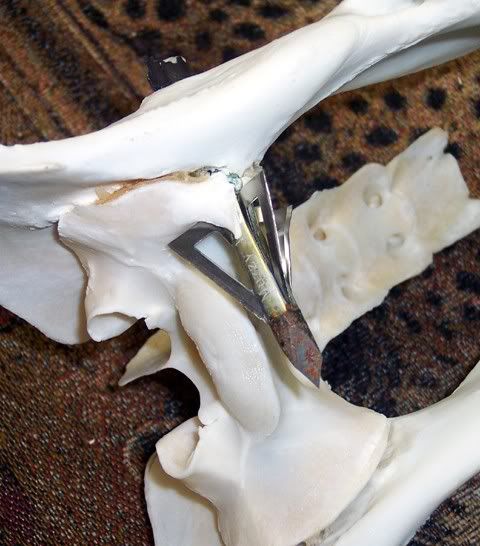
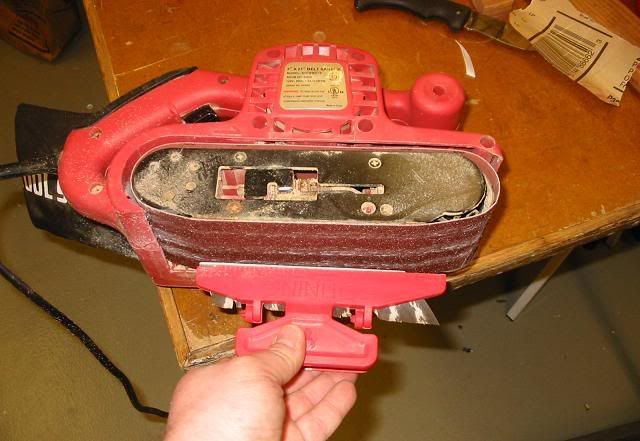
A Kutz-All saw ( I will explain more later )
50 feet of parachute cord
A Mylar space blanket
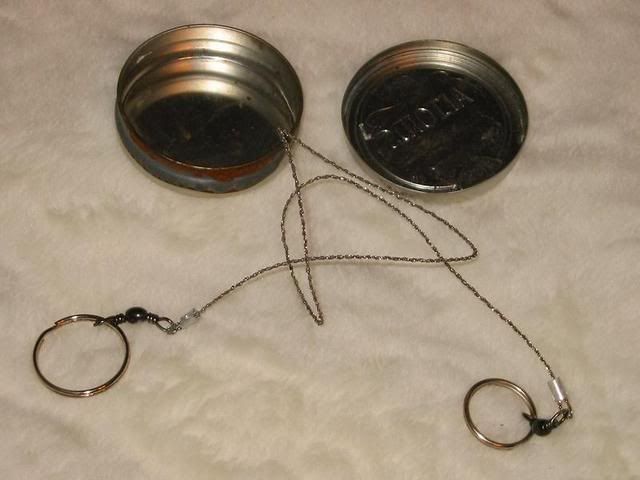
An Altoids tin that contains another saw (I will explain more later) the tin is also the stand for my stove.
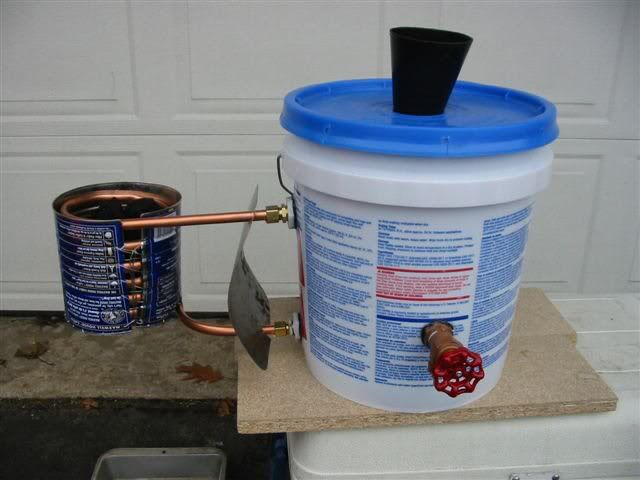
The soda can stove ( I will explain later )
A glow stick
Toilet tissue ( the single biggest moral booster there is ) It is also a fire starter
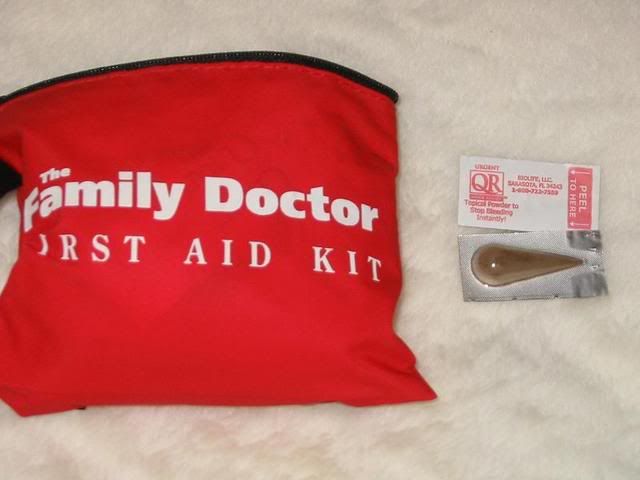
A first aid kit
A fire starting kit ( I will explain later) The tin is also a cooking and drinking vessel
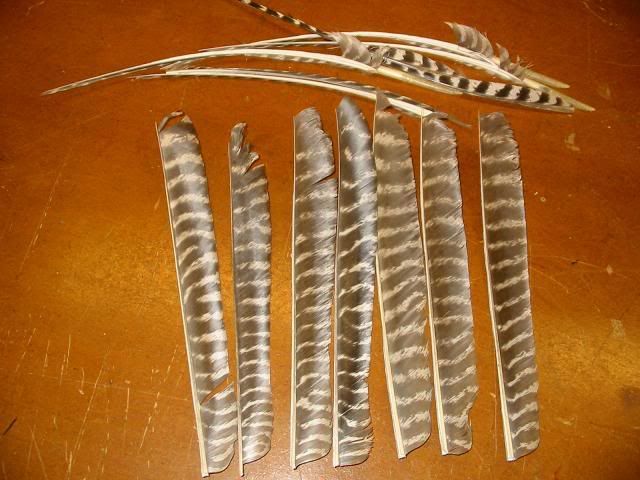
The tent

Made from rip stop Nylon and bug netting. It has a zippered front entrance.
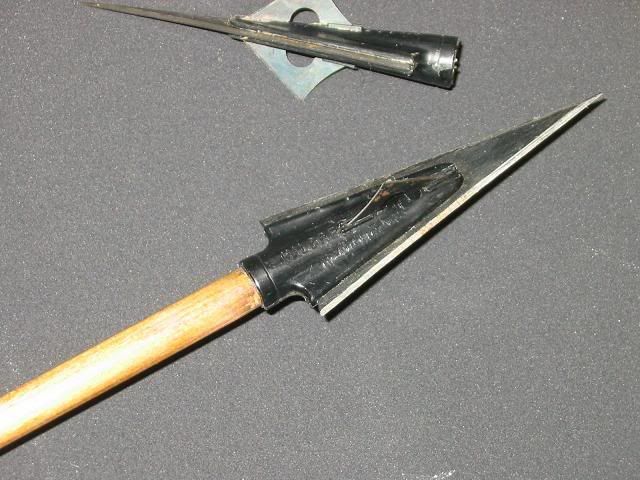
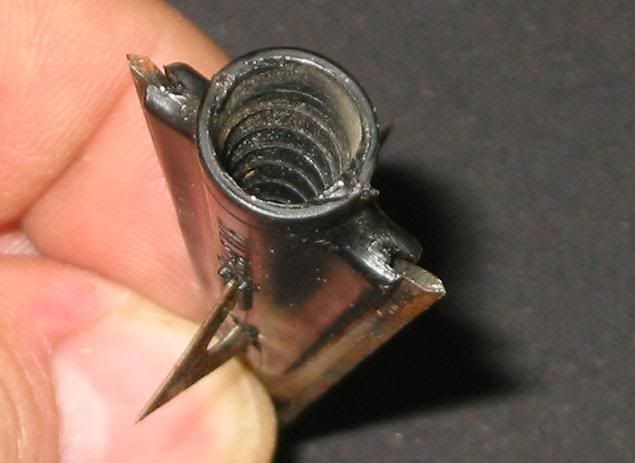
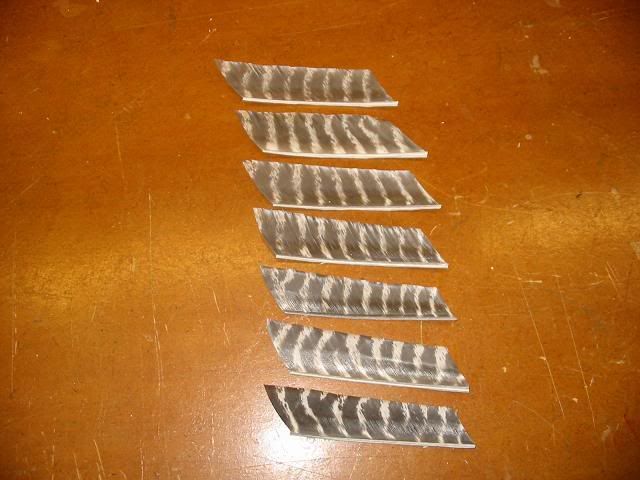
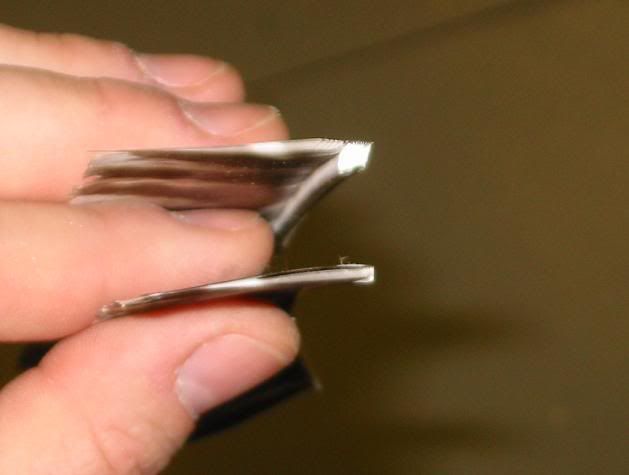
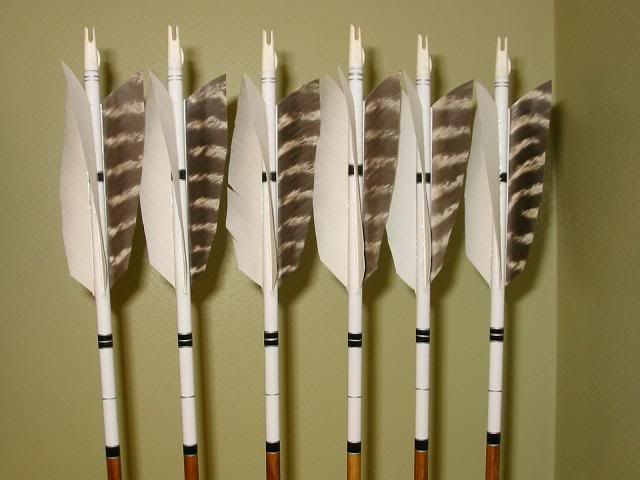
The tent poles are made from aluminum arrows that I cut down. They nest together for storage but slide together when assembled
Tent lines from mason twine
tent stakes
A large piece of Tyvek house wrap to act a floor to keep you off the wet ground. (very light weight and very hard to rip )
This is a pic of the tent made out of blue nylon

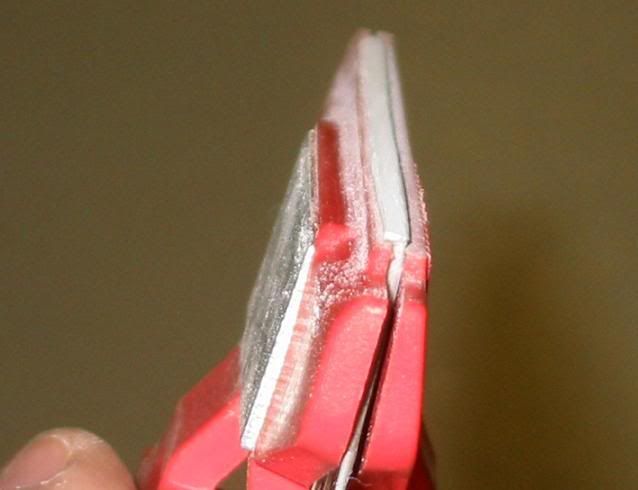
The Kutz-All saw

It has a hollow handle to store the blades which are really Sawz-all blades including a knife blade
the zip saw and the tin
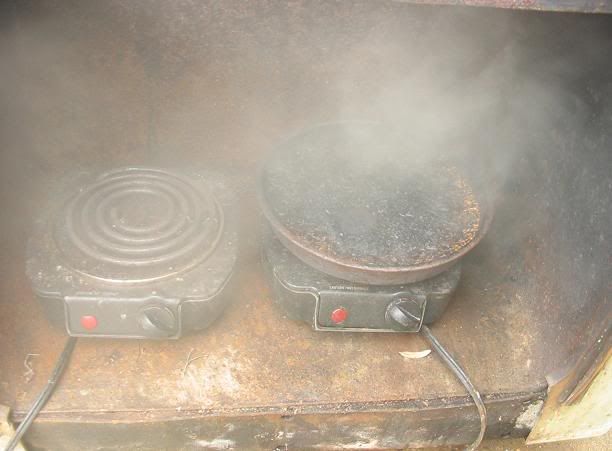
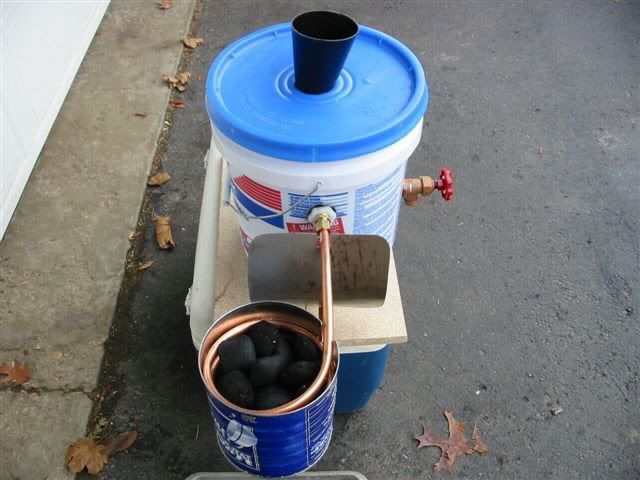
The soda can stove
This stove, when filled with the denatured alcohol fuel will burn for 25 minutes and bring a container with 2 cups of cold tap water to a boil in 2 1/2 minutes
The fire starting tin or the tin foil will be the cooking vessels
The first aid kit is pretty basic but I added an instant scab powder that stop bleeding instantly
The fire starting kit as packed
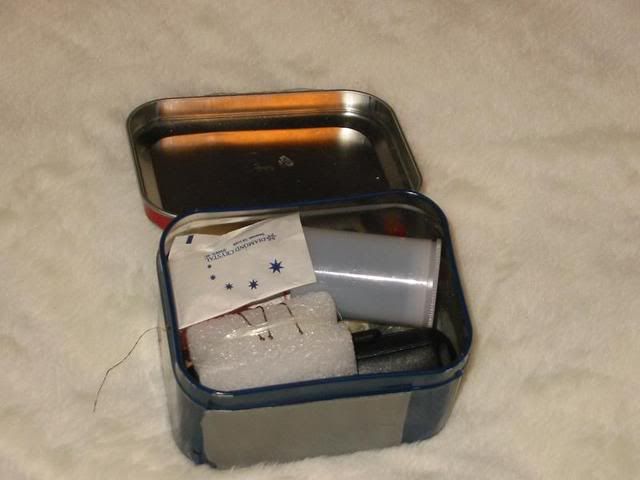
The contents of the kit
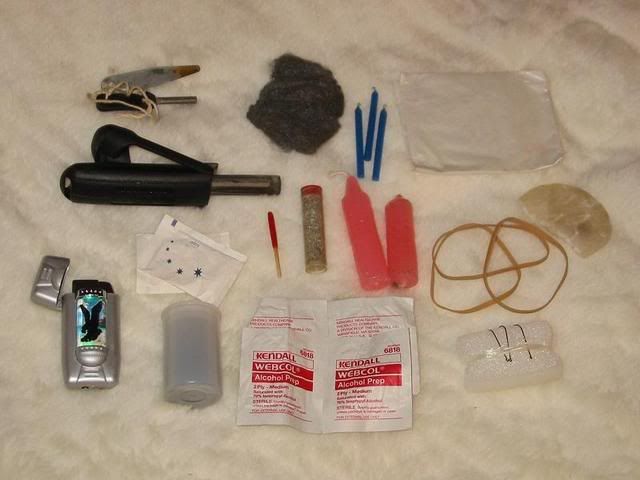
A small flint and steel
A blast match ( a one handed flint and steel)
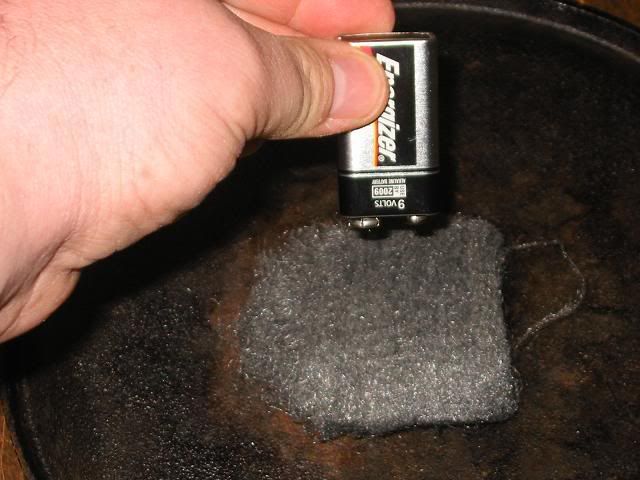
Steel wool, which is the worlds best tinder. I use the 9V battery from the PAL light and the steel wool as a very fast fire starter.
Small birthday candles
Wax paper ( another good tinder when wrapped around small sticks and pine needles )
A butane lighter with a built in light
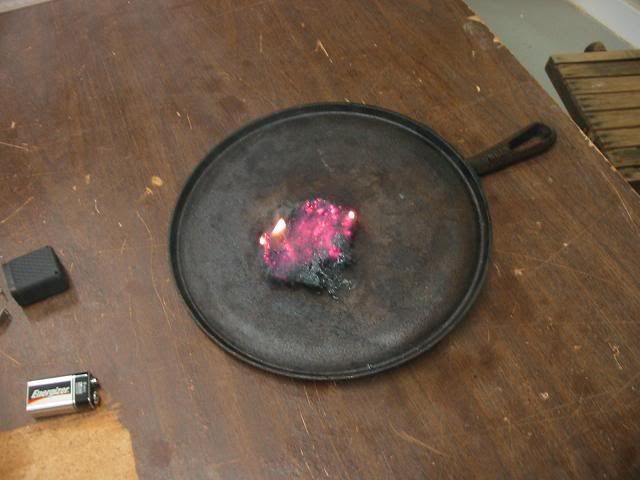
Sugar packets and a container of Potassium permanganate. I can eat the sugar or mix it with water to drink. The Potassium permanganate
when mixed with sugar makes an excellent fire starter if you use the fire by friction method (bow and drill) It is also a signaling device as it
turns bright purple when sprinkled on snow. It is also a water purification powder (an oxidizer) if you use more of it in some water it is an
anti bacterial wash
Water proof/wind proof matches (only one shown)
A small vile of magnesium shavings for instant and hot fire starting
Large candles
Rubber Bands ( I'm not sure why they ended up in the fire kit but still good to have)
A cotton make up removal pad soaked it melted paraffin wax is another good waterproof tinder
Alcohol wipes for cleaning and also a good tinder
The fishing kit just fit nicely into the tin as well
I keep several methods of fire starting in my fire box in my survival kit.
1. Waterproof/windproof matches
2. Butane lighter
3. Blast match
4. Flashlight (more later)
5. Steel Wool
More important that the actual method of striking the flame or the spark is the next step. What do you strike it onto?

Good Tinder is the key. A whole box of matches is useless if your trying to light a log on fire. I think the absolute best tinder in the world is 0000 Steel Wool.
Steel wool weights almost nothing, compresses/fits into whatever container it's placed in. Works even when wet, Never goes bad, ignites with every known
spark flame method (even a magnifying glass) It burns really hot, the more you blow in it. The hotter it gets. lasts a long time so it will ignite the next lager pieces of tinder. I tell all my Scouts that Steel wool is the first thing they should put into their fire starting kit.
The Blast match and the flashlight are about the easiest methods to use for one handed fire starting. Position your steel wool nest into your bundle of tinder and push down with one stroke of the blast match to ignite the wool. You will be amazed at the amount and heat of the sparks generated by the blast match. Blow on the steel wool and add tinder and you will have a fire in no time.
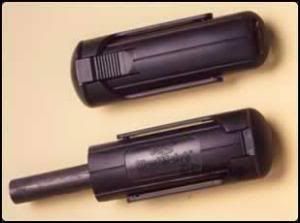
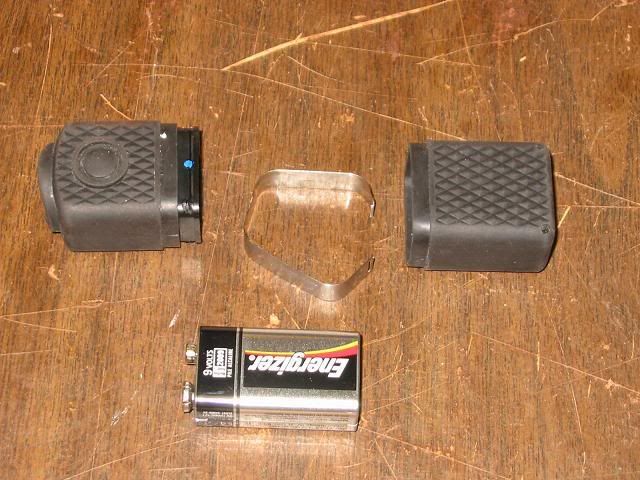
A similar method is to use my flashlight. It is another good one handed fire starter. For this you need a flashlight that uses a 9 volt battery. other batteries will work too but require two hands to use. I use a PAL light because it is water and shock proof. It is a great light with incredible battery time due to the fact that it uses a singe bright LED. It even has a strobe feature. Take the 9 volt battery out of the light and press the two terminals against the steel wool. BLOW!!!
My fire kit also contains a small vile of magnesium shavings that I make ahead of time. A survival situation is no time to be doing this with cold shaky hands. (which is another reason I don't care for matches) Sprinkle the magnesium shavings onto the steel wool and you have just boosted the heat range and fire starting capacity in your tinder nest by at least double.
I am sure I could leave out some redundant stuff and add more. I am always adding and subtracting from the kit.